Banoffee Pot
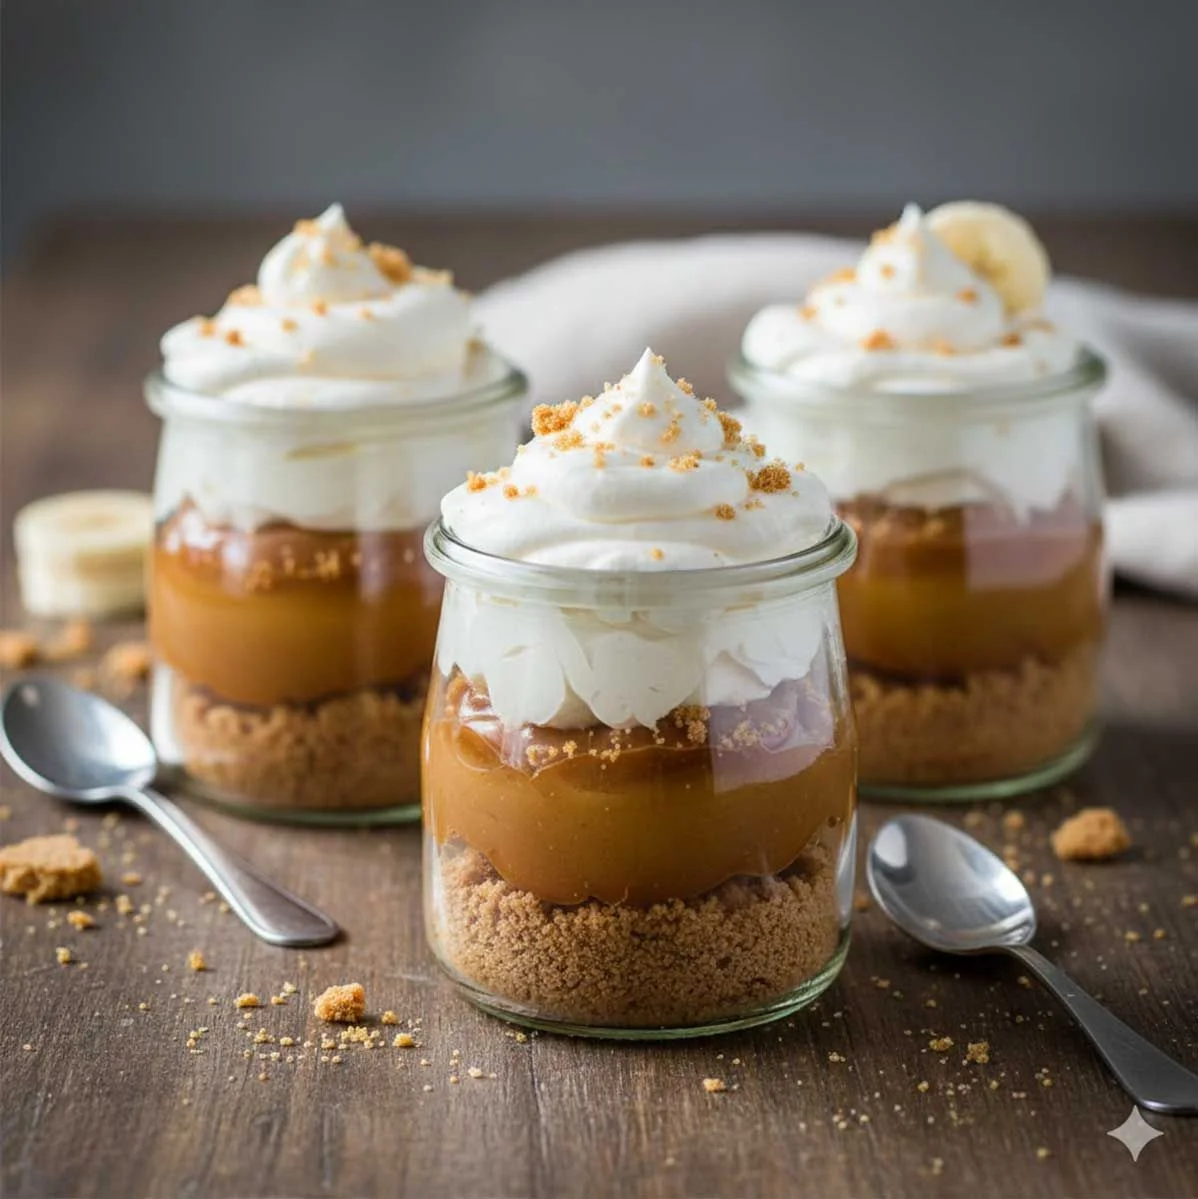
Table of Contents
- Banoffee Pot
- Ingredients for Banoffee Pot
- Equipment You'll Need
- Cooking Times/Oven Settings
- Recipe
- Step-by-Step Instructions
- Step 1: Prepare Your Vessels
- Step 2: Create the Biscuit Base
- Step 3: The Caramel Layer
- Step 4: Whip the Cream to Perfection
- Step 5: Chill and Let the Magic Happen
- Step 6: Serve & Enjoy!
- Why You'll Love This Banoffee Pot Recipe
- Nutritional Highlights
Indulgence in Every Spoonful! Buttery biscuit base, silky caramel toffee, clouds of whipped cream, this British classic reinvented as personal-sized perfection.
Ingredients for Banoffee Pot
For Individual Banoffee Pots
If preparing for more than One per person, just scale and multiply ingredients as needed
Digestive Biscuit Base:
- 30g digestive biscuits per pot
- Small tspn of melted butter per pot
Caramel Layer:
- 40g caramel condensed milk (dulce de leche) per pot
Whipped Cream Topping:
- 85g double cream per pot
Optional Garnishes (not in original recipe but highly recommended):
- Dark chocolate shavings
- Cocoa powder for dusting
- Fresh banana slices (added just before serving)
- Crushed digestive biscuits for texture contrast
- Salted caramel sauce drizzle
Equipment You’ll Need
- 1 small glass pot, jar, or ramekin (150-200ml capacity each)
- Food processor or rolling pin + zip-lock bag (for crushing biscuits)
- Small saucepan (for melting butter)
- Electric mixer or whisk (for whipping cream)
- Piping bag with star tip (optional, for elegant cream presentation)
Cooking Times/Oven Settings
Prep Time: 15 minutes
Chill Time: 2 hours minimum (or overnight)
Total Time: 2 hours 15 minutes
Servings: 1 individual pots
(Allergens: gluten (digestive biscuits) and dairy (butter, caramel, whipped cream)
Recipe
Step-by-Step Instructions
Step 1: Prepare Your Vessels
Choose your serving pots wisely, clear glass shows off those gorgeous layers, but any small cup, jar, or ramekin works. We love using 6oz mason jars or small glass tumblers. They should hold about 150-200ml each.
Step 2: Create the Biscuit Base
Crushing the digestives: You have options here. For the finest, most uniform crumb, pulse digestive biscuits in a food processor until they resemble sand. For a more rustic texture with a few larger pieces (which some people prefer for extra crunch), place biscuits in a sturdy zip-lock bag and crush with a rolling pin until you achieve your desired consistency.
You’ll need 30g of crushed digestives per pot, roughly 2-3 whole digestive biscuits depending on size.
Adding the butter: Melt 2g butter per pot (about 1/4 teaspoon). In a small bowl, combine your crushed digestives with the melted butter, mixing thoroughly until every crumb is coated and the mixture holds together when pressed. It should look like wet sand and clump when squeezed.
Pressing the base: Divide the buttered crumbs between your pots. Using the back of a spoon or a small flat-bottomed glass, press firmly and evenly into the bottom of each vessel. You want a compact, level base that won’t crumble when you dig in. Apply real pressure here, wimpy pressing leads to bases that disintegrate on first contact.
Pro tip: If you want an extra-firm base that stays intact even after days in the fridge, chill the pressed bases for 30 minutes before adding the caramel layer. This isn’t essential, but it’s the difference between good and great.
Step 3: The Caramel Layer
This is where magic happens. Caramelized condensed milk (dulce de leche) is one of nature’s perfect foods, deep toffee flavour, luxurious texture, and that gorgeous amber colour that signals serious indulgence ahead.
Using store-bought caramel: Spoon 40g caramel condensed milk over each biscuit base. Use the back of your spoon to spread it into an even layer, right to the edges. Don’t be stingy here, generous caramel is what makes banoffee memorable.
Making your own dulce de leche (optional but amazing): If you’re feeling ambitious, make your own by simmering an unopened can of condensed milk in water for 2-3 hours. It’s stupidly simple and tastes phenomenal, but requires planning ahead. Store-bought works brilliantly though, no judgment.
The banana question: Traditional banoffee pie includes sliced bananas between the caramel and cream. We’ve deliberately left them out of the main recipe because bananas oxidize and can make the dessert look tired after a day. However, if you’re serving immediately, by all means add 3-4 thin banana slices per pot at this stage. Fresh banana adds a lovely fruity brightness that cuts through the richness.
Step 4: Whip the Cream to Perfection
This is the crowning glory, literally. Proper whipped cream makes or breaks this dessert.
Starting with cold cream: Ensure your double cream is properly chilled. Cold fat whips faster and holds peaks better. If you really want to go pro, chill your bowl and whisk attachment in the freezer for 10 minutes before whipping.
Whipping to soft peaks: Using an electric mixer or whisk, whip 85g double cream per pot until soft peaks form. Soft peaks mean the cream holds its shape when the whisk is lifted but the peaks gently fold over at the tip. This is crucial, over-whipped cream becomes grainy and butter-like (though still tasty, it’s not the texture we’re after).
Sweetening (optional): Our recipe keeps the cream pure and unsweetened, letting its natural dairy richness shine. The caramel provides plenty of sweetness. However, if you prefer sweetened cream, add 1 teaspoon of icing sugar and 1/4 teaspoon vanilla extract per 100g cream before whipping.
Topping the pots: You have two presentation options:
Option 1 - Rustic spoon method: Simply spoon generous dollops of whipped cream over the caramel layer. This looks homely and inviting, perfect for casual gatherings.
Option 2 - Professional piping: Transfer whipped cream to a piping bag fitted with a large star tip. Pipe elegant rosettes or swirls on top of each pot. This takes an extra 3 minutes but elevates the presentation significantly.
Either way, be generous, that billowy cream layer is half the appeal.
Step 5: Chill and Let the Magic Happen
Cover each pot with cling film or a lid and refrigerate for at least 2 hours. This chilling time serves multiple purposes:
- Allows the biscuit base to firm up completely
- Lets the caramel settle and slightly firm
- Keeps the whipped cream at its optimal texture
- Gives the flavours time to meld harmoniously
Overnight is even better. The dessert actually improves with time as the base absorbs just a hint of moisture from the caramel, creating this amazing transition zone between crisp and chewy.
Step 6: Serve & Enjoy!
Why You’ll Love This Banoffee Pot Recipe
The genius of banoffee pot lies in its architectural elegance. Three distinct layers, each perfect in isolation, combine to create something exponentially greater than the sum of parts.
The digestive base provides structural integrity and that essential biscuit crunch. British digestive biscuits have a subtle malt sweetness and sturdy texture that American graham crackers can’t quite replicate, though they’re an acceptable substitute.
The caramel layer is pure indulgence, its deep toffee complexity playing perfectly against the sweet simplicity of whipped cream. Dulce de leche has this magical quality of being intensely sweet without being cloying.
The whipped cream provides textural contrast and visual drama while tempering the richness below. Its airy lightness makes the dense layers beneath feel less heavy, creating perfect balance.
Nutritional Highlights
Let’s be honest, this is an indulgent dessert. It’s celebration food, special occasion food, “I deserve this” food. That said, a few points worth noting:
- Portion control built-in: Individual servings prevent the “just one more slice” phenomenon
- Homemade control: You know exactly what’s in here, no preservatives, no artificial flavours
- Calcium and protein: Dairy provides some nutritional value alongside the indulgence